

If you are planning to study interior design, you may already be wondering which interior design software for students is worth learning. Should you start with AutoCAD? Do you need SketchUp? What is rendering software? And do you need to know every design program before joining an interior design course?
The answer is simple: you do not need to know every software tool before starting your course.
Interior design students usually develop digital skills step by step. They may begin with basic Computer Aided Design (CAD), move towards 3D modelling and later learn rendering and presentation techniques.
More importantly, software is only a tool. You still need to understand space planning, measurements, furniture, materials, lighting and how people actually use a space.
Let’s understand the main software skills an interior design student should develop.
Why Do Interior Design Students Need Software Skills?
Interior designers have to communicate ideas clearly.
A rough sketch may explain an initial concept, but professional projects often require accurate floor plans, elevations, furniture layouts, 3D models and visual presentations.
This is where design software becomes useful.
Digital tools can help students:
- Prepare accurate floor plans
- Create elevations and sections
- Test furniture layouts
- Build 3D models
- Explore materials and finishes
- Create realistic room visuals
- Present ideas to clients
- Make changes without redrawing an entire project
Students should therefore think of software as part of their overall design skill set rather than a separate technical subject.
Knowing how to operate a program is useful. Knowing why you are creating a particular layout or drawing is even more important.
1. CAD Software for Technical Drawings
One of the first digital skills many interior design students come across is CAD.
CAD stands for Computer Aided Design.
It is used to prepare accurate technical drawings using measurements, dimensions and scale.
For an interior designer, CAD drawings may include:
- Floor plans
- Furniture layouts
- Ceiling plans
- Sections
- Elevations
- Electrical layouts
- Detailed drawings
- Door and window locations
AutoCAD
AutoCAD is one well-known example of CAD software.
For students, learning basic CAD can help bridge the gap between hand-drawn technical drawings and professional digital drafting.
Autodesk’s Architecture toolset, for example, supports the creation of drawings such as floor plans, elevations, sections and ceiling grids.
When learning CAD for interior design students, the goal should not simply be memorising commands.
Students should understand:
What are they drawing?
Why is that drawing required?
Which measurements matter?
How will a contractor or client understand it?
Software becomes far more useful once these fundamentals are clear.
2. 3D Modelling Software
A two-dimensional floor plan can explain the layout of a room, but many people find it easier to understand a space when they can see it in three dimensions.
That is where 3D modelling software comes in.
SketchUp
SketchUp is commonly associated with creating 3D models of spaces, furniture and interior concepts.
Its official interior-design resources highlight uses such as visualising interior spaces in 3D, preparing plans and working with materials and model assets.
For an interior design student, a 3D modelling tool can be useful for understanding:
- Room proportions
- Furniture size
- Circulation space
- Wall treatments
- Ceiling concepts
- Storage solutions
- Overall spatial relationships
Imagine designing a small living room.
A floor plan may show that the sofa technically fits. But once you build the room in 3D, you may notice that the sofa feels too large compared with the room.
This is why 3D modelling can improve design thinking as well as presentation.
3. Rendering Software for Interior Design
A 3D model shows the form and layout of a room.
Rendering takes the presentation further.
Rendering software for interior design can help create visual representations showing elements such as lighting, textures, furniture, materials, shadows and finishes.
For example, a basic 3D model may show a bedroom with a bed, wardrobe and window.
A rendered version can give a clearer idea of:
- How sunlight may enter the room
- How a wooden floor may look
- How wall colours work together
- How artificial lighting affects the space
- How different materials may appear
Rendering is particularly useful when presenting a design to someone who may struggle to understand technical drawings.
However, students should avoid one common mistake:
A beautiful render does not automatically mean a good interior design.
A room can look impressive on a computer screen but still have poor circulation, incorrect measurements or impractical furniture placement.
Learn design first.
Use rendering to communicate that design better.
4. BIM Software
As students move towards larger and more technical projects, they may also come across BIM.
BIM stands for Building Information Modelling.
Software such as Revit is used in architecture and building-related workflows to create model-based project information.
Autodesk describes BIM as an intelligent 3D model-based process used in planning, designing, constructing and managing buildings.
Does every interior design beginner need to master BIM immediately?
No.
If you are just starting, learning design fundamentals and CAD may be more useful.
But understanding BIM can become valuable when working on projects where interior designers need to coordinate with architects, engineers and other construction professionals.
Consider it a skill that may become useful as your technical knowledge grows.
5. Presentation and Image Editing Software
Interior designers do more than create technical drawings.
They also have to present an idea.
This may involve preparing:
- Mood boards
- Material boards
- Concept presentations
- Furniture references
- Colour palettes
- Before-and-after concepts
- Portfolio pages
Image-editing and graphic-presentation tools can help students organise these ideas professionally.
For example, students may use image-editing software to clean up images, adjust a presentation, create compositions or prepare portfolio pages.
The exact tool is less important at the beginning than developing the ability to present information clearly.
A good presentation should make the design easier to understand, not cover it with unnecessary effects.
6. Digital Tools for Mood Boards and Concept Development
Before creating a detailed floor plan, designers often develop a concept.
A mood board may bring together:
- Colours
- Furniture references
- Textures
- Materials
- Lighting ideas
- Flooring
- Fabrics
- Design inspiration
Digital tools can make this process quicker because students can test different combinations before finalising their direction.
But mood boards should not simply be collections of attractive Pinterest images.
They should explain the intended character of the space.
For example, if you are designing a modern café, your mood board should help answer:
What kind of lighting will be used?
Which materials suit the concept?
What type of furniture fits the space?
Which colour palette supports the atmosphere?
That is design thinking.
The software only helps you organise it.
Which Interior Design Software Should Beginners Learn First?
Students sometimes try to learn five programs together and end up understanding none properly.
A better approach is to learn according to the design process.
Stage 1: Understand Design Fundamentals
First learn:
- Basic drawing
- Measurements
- Scale
- Space planning
- Furniture planning
- Materials
- Technical drawing
Stage 2: Learn Basic CAD
Once you understand technical drawings, start learning how to prepare them digitally.
This makes computer aided design for interior designers easier to understand because you already know what a floor plan or elevation represents.
Stage 3: Learn 3D Modelling
Next, learn how a 2D plan becomes a three-dimensional space.
This develops your understanding of volume, height, proportion and furniture placement.
Stage 4: Learn Rendering
After becoming comfortable with models, start experimenting with lighting, textures and materials.
Stage 5: Improve Presentation Skills
Finally, learn how to organise your drawings, renders and concepts into a clear presentation or portfolio.
This sequence is generally more useful than randomly collecting software certificates.
Can Software Replace Drawing and Sketching?
No.
Software and hand sketching perform different jobs.
A quick sketch can help you capture an idea in seconds.
CAD can then help turn that concept into a more accurate drawing.
3D software can help visualise the space.
Rendering can help present the final concept.
Instead of asking:
“Should I learn drawing or software?”
Interior design students should gradually become comfortable with both.
You do not need to become a professional illustrator, but understanding lines, proportions, perspective and technical drawings can make software much easier to use.
Software Skills Are Not the Same as Interior Design Skills
This distinction is extremely important.
Someone may know every command in a design program and still struggle to design a functional room.
Professional interior design also requires an understanding of:
- Space planning
- Human movement
- Furniture dimensions
- Building materials
- Construction methods
- Lighting
- Colour
- Client requirements
- Budget considerations
- Technical services
- Project execution
Software should help you apply these ideas.
It should not replace them.
That is why students searching for the best interior design course software should also look at what the course teaches beyond software.
How ISFT Introduces Digital Skills in B.Sc. Interior Design
Students are not necessarily expected to arrive on the first day already knowing professional design programs.
ISFT’s B.Sc. in Interior Design course follows a gradual progression.
The current programme curriculum includes:
Semester 3: Introduction to Computer Aided Design (CAD)
Semester 4: Advanced Computer Aided Design
Semester 5: Introduction to Rendering Software
The wider programme also includes freehand sketching, technical drawing, construction materials, residential and commercial interior projects, practical training, internships and portfolio development.
This is important because digital skills make more sense when they are learned alongside actual interior design subjects.
Instead of treating software as an isolated computer class, students can understand how digital tools connect with drawings, space planning and project work.
How Can Students Practise Interior Design Software?
Watching tutorials is useful, but simply watching someone else use a program will not build enough confidence.
Create small projects yourself.
For example:
Project 1: Your Bedroom
Measure your bedroom and prepare a simple floor plan.
Project 2: Furniture Layout
Try two or three different furniture arrangements for the same room.
Project 3: 3D Model
Turn one floor plan into a basic three-dimensional model.
Project 4: Materials
Experiment with flooring, wall finishes and furniture materials.
Project 5: Final Presentation
Prepare a small presentation showing your concept, floor plan, 3D views and material ideas.
Projects like these help you understand why each tool is being used.
They can also gradually become part of your student portfolio as your work improves.
Common Mistakes Students Make While Learning Design Software
The first is trying to learn too many tools at once.
Start with one.
The second is focusing only on shortcuts and commands.
Understand the design behind the command.
The third is spending hours creating a realistic render while ignoring poor space planning.
Fix the design first.
The fourth is copying tutorial projects exactly without trying something independently.
Tutorials should teach you a technique. Your own projects teach you how to apply it.
And finally, do not worry if another student works faster than you.
Software skills improve with repeated use.
Final Thoughts
The best interior design software for students is not simply one program.
Interior designers work through several stages, so students benefit from developing different digital abilities.
CAD helps with accurate drawings.
3D modelling helps visualise spaces.
Rendering helps communicate materials, lighting and atmosphere.
Presentation tools help organise the final idea.
But every one of these tools depends on your understanding of design.
If you are planning to study interior design, you do not need to master professional software before joining college. Start with the basics, understand how spaces work and gradually build your digital skills through practical projects.
The aim is not to become someone who simply knows software.
The aim is to become an interior designer who knows when and why to use it.
FAQs
1. What software should an interior design student learn first?
Students can usually begin with CAD after learning basic technical drawing. They can then progress towards 3D modelling, rendering and presentation tools as their design knowledge develops.
2. Is AutoCAD useful for interior design students?
Yes. CAD software can be useful for creating accurate floor plans, elevations, layouts and other technical drawings used in interior design.
3. Do interior designers need 3D software?
3D software is useful because it helps designers understand and communicate how a planned interior may look in three dimensions. It is particularly helpful for presentations and spatial visualisation.
4. Is rendering necessary for interior design students?
Rendering is a useful skill, especially for presenting lighting, materials, textures and design concepts. However, students should first build strong space-planning and design fundamentals.
5. Can I study interior design if I don't know any software?
Yes. Beginners do not need to know professional software before starting their studies. A structured interior design programme can introduce CAD and other digital tools gradually as students develop their design knowledge.
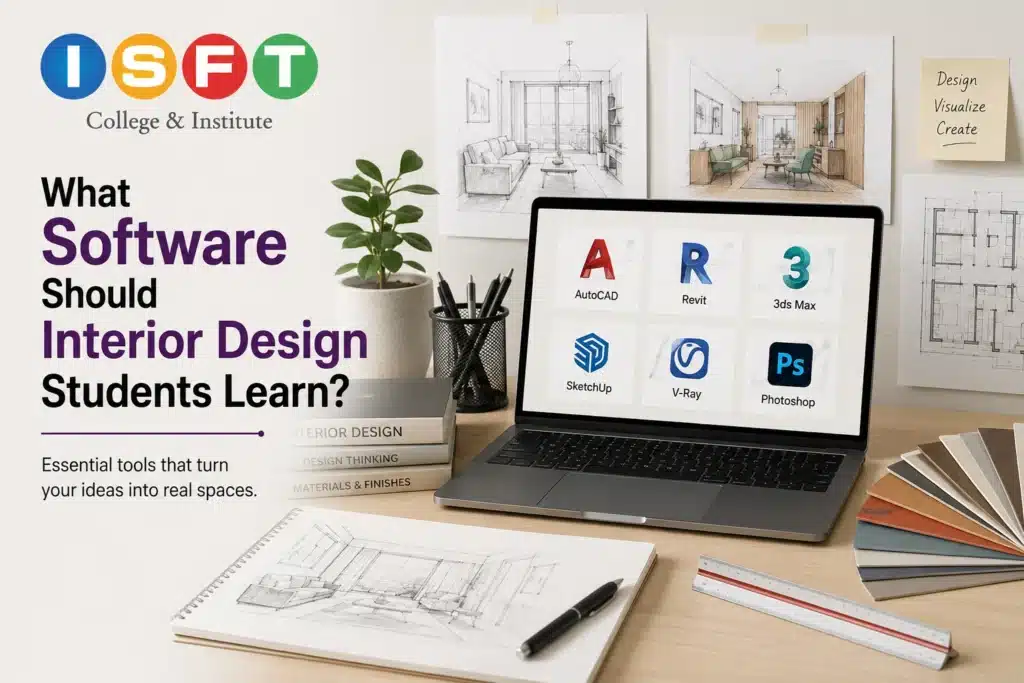
Table Of Content
- Why Is Drawing Used in Interior Design?
- Why Do Interior Design Students Need Software Skills?
- 1. CAD Software for Technical Drawings
- 2. 3D Modelling Software
- 3. Rendering Software for Interior Design
- 4. BIM Software
- 5. Presentation and Image Editing Software
- 6. Digital Tools for Mood Boards and Concept Development
- Which Interior Design Software Should Beginners Learn First?
- Can Software Replace Drawing and Sketching?
- Software Skills Are Not the Same as Interior Design Skills
- How ISFT Introduces Digital Skills in B.Sc. Interior Design
- How Can Students Practise Interior Design Software?
- Common Mistakes Students Make While Learning Design Software
- Final Thoughts
- FAQs
